GrapesJS is a free and open-source web development framework for creating web templates without coding. It combines various tools and features which intend to assist you (or users of your application) in creating HTML templates without coding knowledge.
Features:
Drag & Drop Built-in Blocks:
GrapesJS includes a set of built-in blocks allowing you to build templates more quickly. If its default configuration is insufficient, you can always add your own Custom Blocks.

Responsive Design
GrapesJS provides you with all the necessary tools that you need to optimize your templates so that they look great on any device. You can provide a variety of viewing experiences this way. If you need more device options, you can easily add them to the editor.
Layer Manager
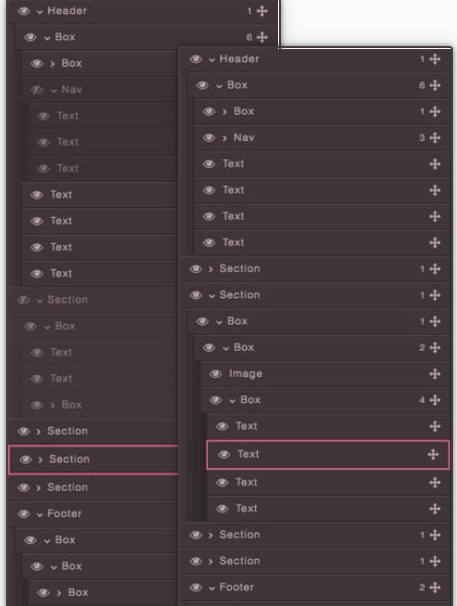
You can nest as many components as you want, but when the structure starts to grow the Layer Manager comes in handy. It enables you to manage and rearrange your elements quickly while remaining focused on the architecture of your structure.

Using GrapesJS plugin in a React application:
GrapesJS includes some predefined plugins that provide customized editing screens. For our React application, we will use the Web page plugin. It is available for download here.
As a code editor, we’ll be using Microsoft Visual Code. Node.js is required in our editor. Install the latest LTS version. In your local directory, make a new folder. Select the folder you created by going to File -> Open Folder in Visual Code. This directory will serve as your working directory.
Steps to create a React application:
1. In Visual Code, press Ctrl + ` to open a terminal. Check that the path to your working directory is displayed in the terminal. In this field, enter npx create-react-app my-app. Allow some time for installation. This will generate a new React application in the’my-app’ folder.

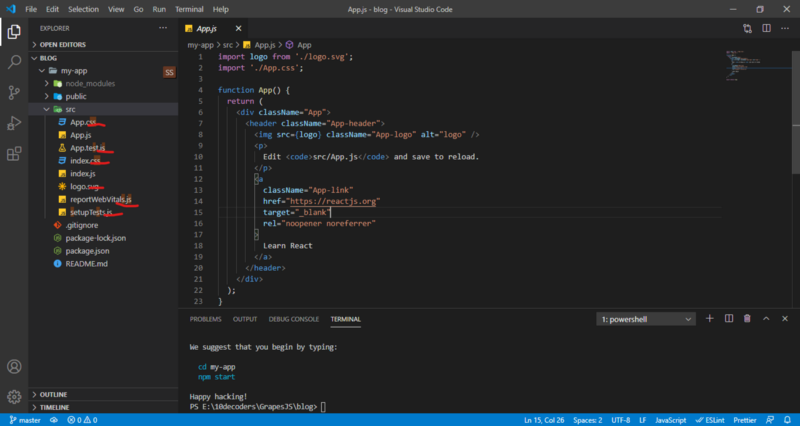
2. In your working directory, React files and dependencies will be created. Remove the following marked files from your React application’s src folder.

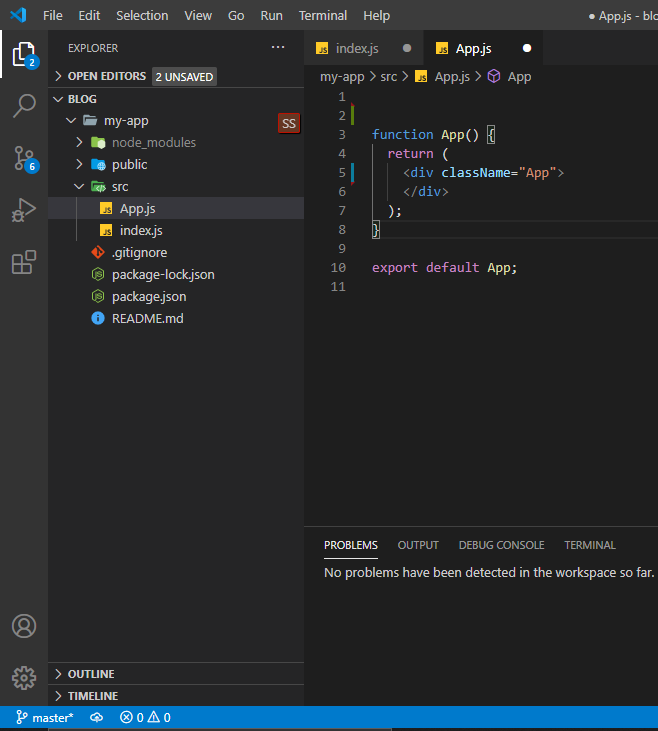
3.Edit the App.js and index.js files as shown below


A basic React application has now been installed and configured.
Steps to integrate GrapesJS plugin in React Application:
1. In your terminal, use the command cd my-app to change the current directory to the my-app folder.

2. Use the command npm i grapesjs to install the GrapesJS dependencies.

3. Use the command npm i grapesjs-preset-webpage to install the GrapesJS Preset Webpage plugin.

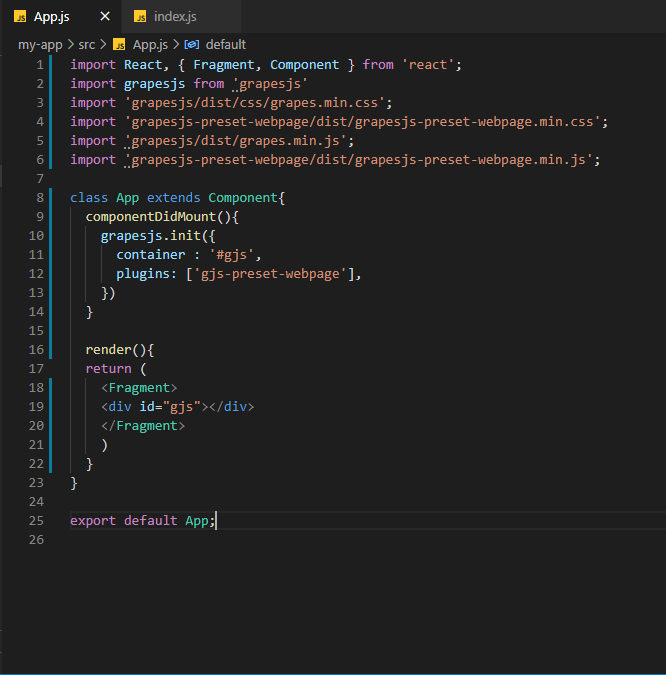
4. Enter the following code in the App.js file and save it

5. In the terminal, type npm start to start the application. Check that PORT 3000 is available in your system.

6. The React application with Grapesjs enabled will now be launched in your default web browser.

The GrapesJS Preset Web Page plugin has been successfully integrated into our React application. The canvas is the white area. It is where we can drag and drop the provided blocks to generate HTML code.


